-
Gujarat, India
- info@icontechnology.in
- 24/7 Customer Support
Gujarat, India
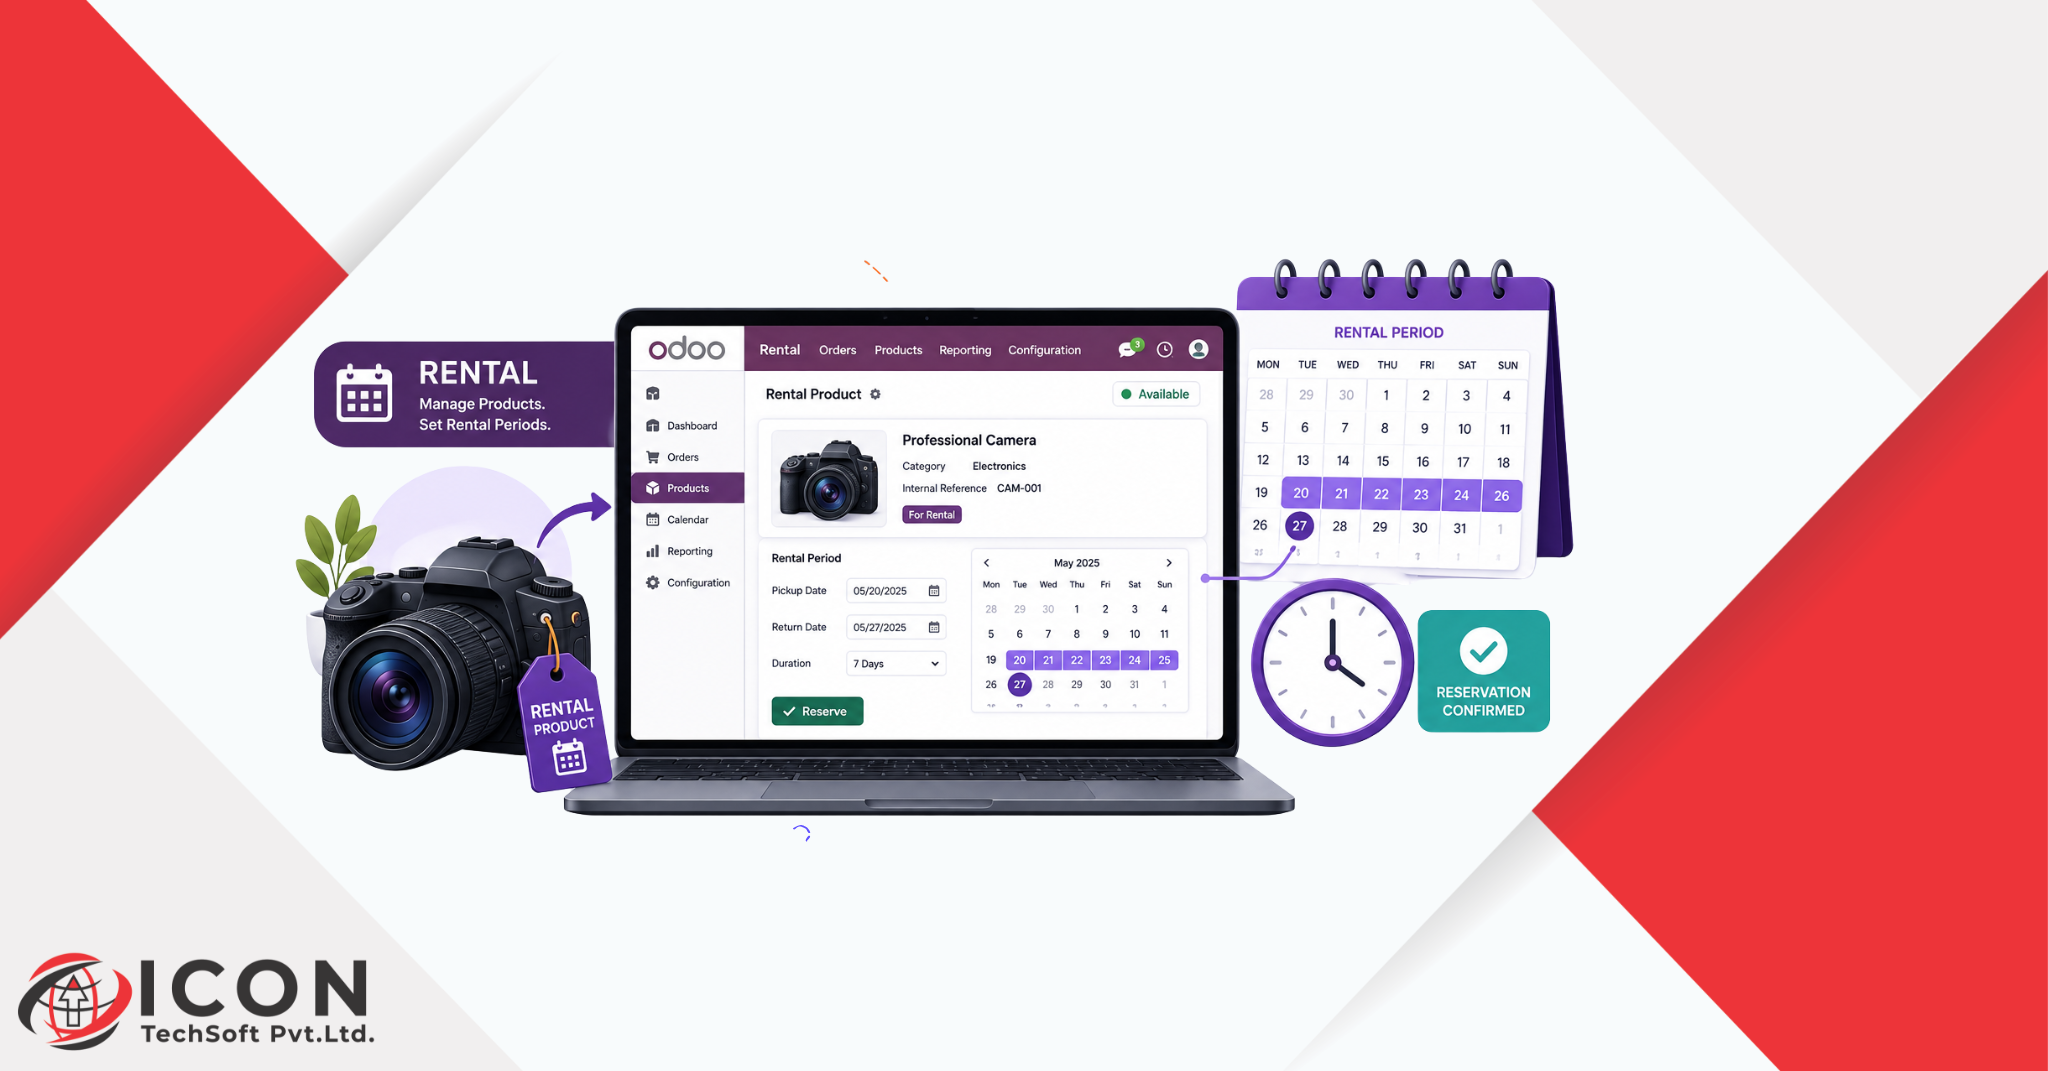
The Rental module in Odoo 19 enables businesses to efficiently manage rentable products and define flexible rental durations based on their operational needs. By configuring rental products and setting up rental time periods, companies can offer customers multiple rental options while ensuring accurate pricing and seamless order management. Odoo 19 allows businesses to create rental products with pricing based on different time units, such as hours, days, weeks, months, or years, making it suitable for a wide range of rental industries.
The module is fully integrated with Sales, Inventory, and Accounting, allowing users to track product availability, manage rental orders, schedule returns, and generate invoices without switching between applications. Properly configuring rental products and rental time periods helps prevent scheduling conflicts, improves asset utilization, and ensures a consistent rental experience for both businesses and customers. In this blog, we’ll walk through the complete process of setting up rental products and configuring rental time periods in Odoo 19, enabling you to simplify rental operations and maximize efficiency.
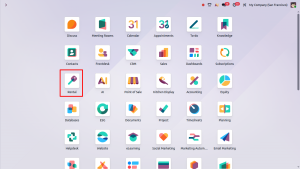
Firstly open the rental module from the Odoo 19 Dashboard
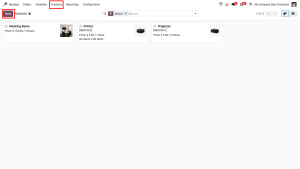
Before creating rental quotations or defining rental pricing, you must configure the product as a rental item. Odoo 19 allows you to mark any product as rentable by enabling the rental option in the product form.
Follow the steps below:
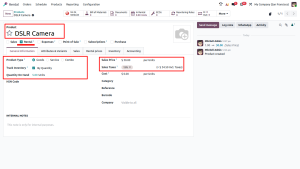
After creating and saving the rental product, the next step is to configure its rental prices. Odoo 19 allows you to assign different prices based on the rental duration, enabling customers to rent the same product for different time periods.
Follow the steps below:
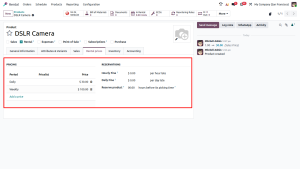
Once the rental product and its rental prices have been configured, you can create a rental order for your customer. A rental order allows you to specify the rental period, reserve the product, and generate a quotation or confirm the rental.
Follow the steps below:
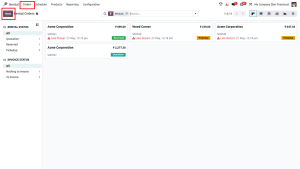
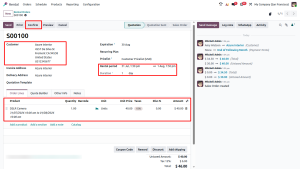
After confirming the rental order, the product is reserved for the selected rental period and its status changes to Booked. The next step is to hand over the product to the customer by processing the pickup.
Follow the steps below:
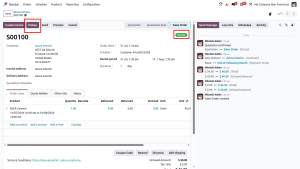
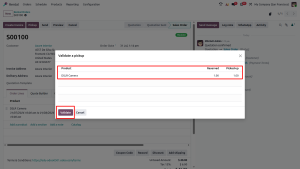
Once the customer has finished using the rented product, you can process its return in Odoo. Returning the product updates its availability and completes the rental cycle.
Follow the steps below:
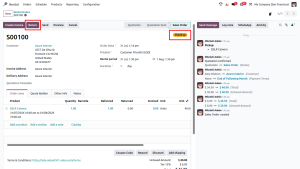
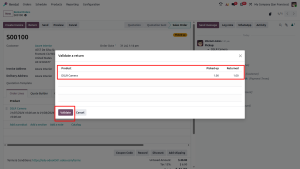
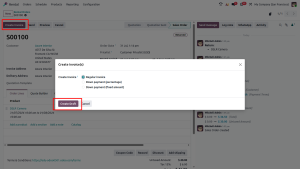
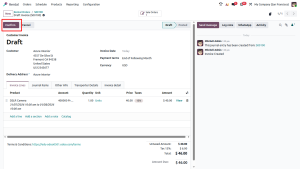
After the rental product has been returned, the final step is to generate the customer invoice. Odoo 19 automatically calculates the rental charges based on the configured rental period and pricing, making the invoicing process quick and accurate.
Follow the steps below:
Configuring rental products and rental time periods in Odoo 19 enables businesses to efficiently manage their rental operations from product setup to customer invoicing. By defining flexible rental durations and assigning appropriate rental prices, businesses can offer customers multiple rental options while maintaining accurate pricing and product availability.
The Rental module streamlines the entire rental workflow, including product configuration, rental orders, pickup, return, and invoicing, within a single integrated system. This reduces manual effort, minimizes errors, and improves operational efficiency.
Whether your business rents equipment, vehicles, electronics, furniture, or other assets, Odoo 19 provides a flexible and reliable solution to manage rental operations while delivering a seamless experience for both businesses and customers.